There is a fundamental difference between furniture that is manufactured and furniture that is handcrafted. Manufacturing prioritizes speed, consistency, and cost efficiency. Handcrafting prioritizes quality, character, and longevity. This is the story of how a piece of handcrafted wood furniture comes to life — from the selection of lumber to the final hand-rubbed finish. Understanding this process helps you appreciate why handcrafted furniture is worth the investment.
Selecting the Right Lumber
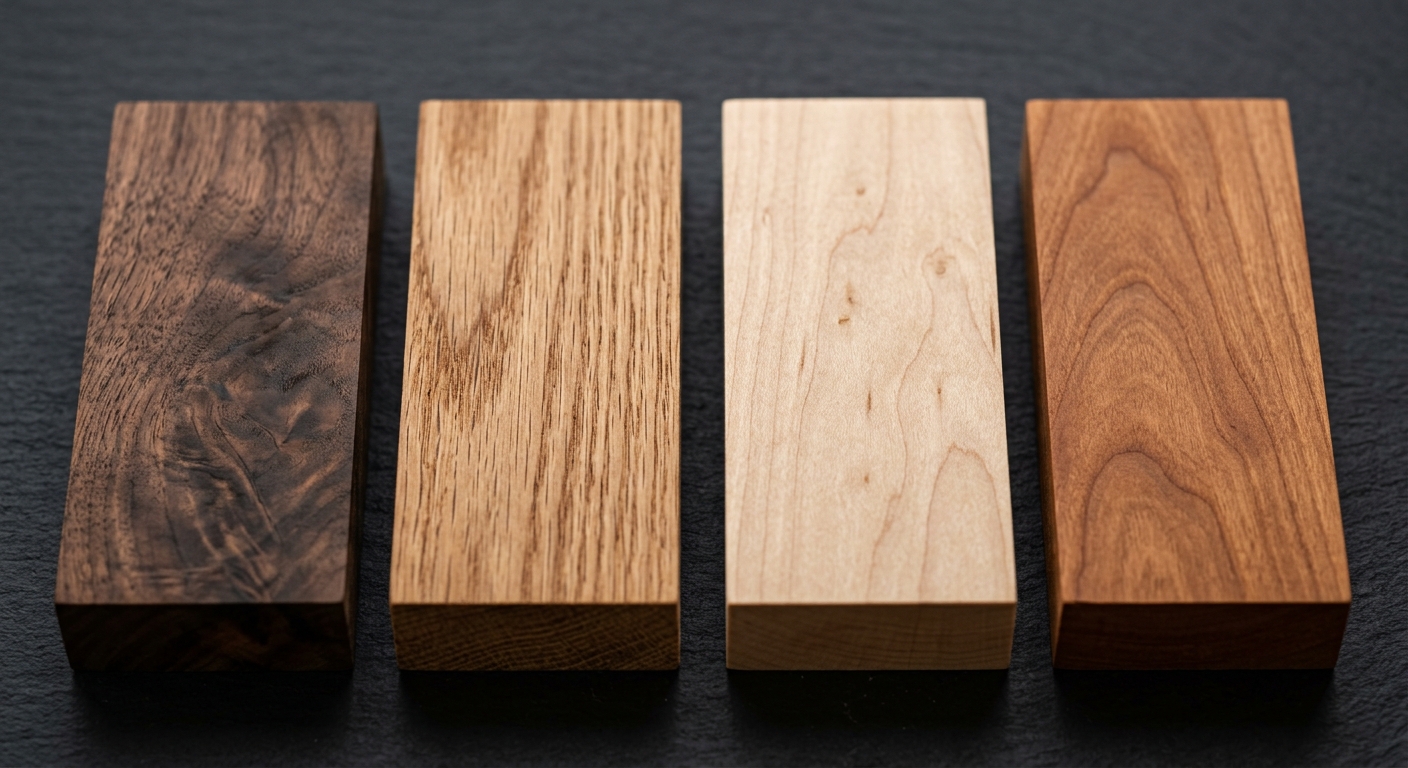
Every piece of handcrafted furniture begins with lumber selection. Unlike mass production, where boards are chosen by machine for uniformity and yield, a craftsman selects each board by eye, looking for grain patterns, color consistency, structural integrity, and visual character that will make the finished piece unique.
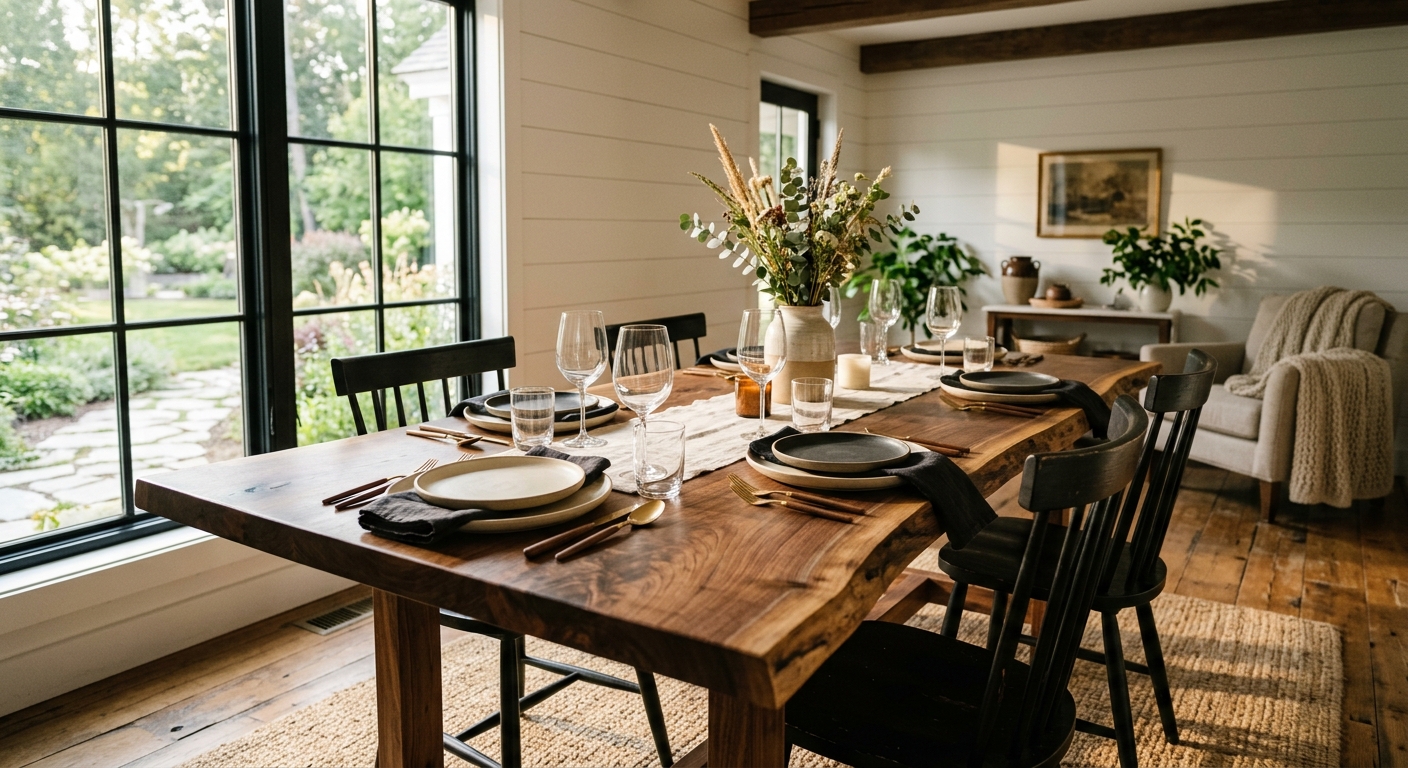
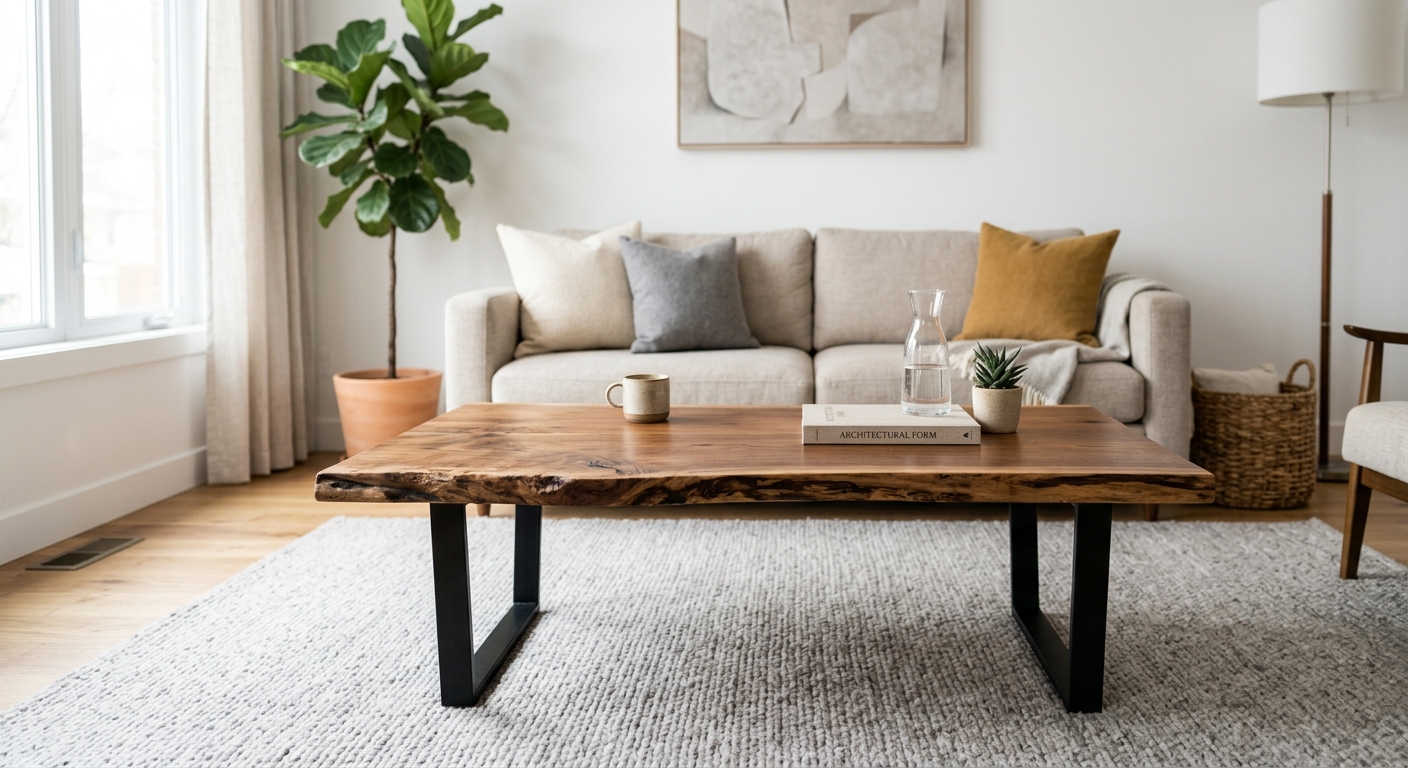
For live edge pieces, the selection process is even more personal. The craftsman examines each slab for its natural character — the curve of the edge, the placement of knots, the way the grain flows, the presence of figure or curl. A single slab might be set aside for months or even years until the right project comes along that matches its character.
Wood must be properly dried before use. Green wood contains high moisture content — often 30% or more — and will warp, split, and shrink as it dries. Kiln-dried lumber has been heated in a controlled environment to reduce moisture content to 6-8%, making it dimensionally stable. Air-dried lumber seasons naturally over months or years and is preferred by some craftsmen for its gentler drying process, which can preserve more of the wood's natural color.
Milling and Preparation
Once lumber is selected, it must be milled to the correct dimensions. This involves several steps:
- Jointing: Creating one flat face and one straight edge on each board
- Planing: Making the opposite face parallel and smooth, bringing the board to final thickness
- Ripping: Cutting the board to width on the table saw
- Crosscutting: Cutting the board to final length
The goal is to create boards that are flat, straight, and square — the foundation of quality furniture. A piece built from improperly milled lumber will have gaps, misalignments, and structural weaknesses that no amount of finish work can hide.
Joinery: The Mark of Quality
Joinery is where handcrafted furniture truly distinguishes itself from mass-produced pieces. Mass-produced furniture typically uses staples, dowels, pocket screws, or cam locks — fast, cheap methods that are adequate but not exceptional. Handcrafted furniture uses traditional joinery techniques that create stronger, longer-lasting connections that can endure for generations.
Common Joinery Techniques
- Mortise and tenon: A projecting tenon on one piece fits into a corresponding mortise (cavity) on the adjacent piece. This is one of the strongest joints in woodworking and has been used for thousands of years. It is the primary joint for table legs, chair frames, door construction, and structural framework.
- Dovetails: Interlocking wedge-shaped joints used primarily for drawer construction. The wedge shape prevents the joint from pulling apart, making dovetailed drawers some of the strongest available. Hand-cut dovetails are a hallmark of quality craftsmanship and take significantly longer to produce than machine-cut versions.
- Tongue and groove: A projecting tongue on one board fits into a matching groove on the adjacent board. Used for tabletops, paneling, and shelving where boards need to be joined edge to edge while allowing for seasonal wood movement.
- Bridle joint: Similar to mortise and tenon but with both members having open slots. Used for frame construction where maximum glue surface is needed.
- Dado and rabbet: Grooves cut into boards to accept shelf panels or backs. These joints provide mechanical support in addition to glue adhesion.
Assembly and Glue-Up
Tabletops and wide surfaces require gluing multiple boards together. The craftsman arranges boards to create pleasing grain patterns and color flow, alternating end-grain orientation to minimize warping. Then, glue is applied and the assembly is clamped under pressure.
The glue-up must be done efficiently — most wood glues have a working time of 10-15 minutes before they begin to set. The craftsman must apply glue, align the boards, position clamps, and check for flatness before the glue begins to cure. This is one of the most stressful moments in furniture making, as mistakes during glue-up are difficult and time-consuming to correct.
After the glue cures — typically 24 hours — the assembled top is planed, sanded, and scraped to create a perfectly flat, smooth surface. Hand planes and card scrapers are used to remove glue squeeze-out and level any slight misalignments between boards. This is painstaking work that requires patience, skill, and a sharp eye.
Sanding: Patience in Practice
Sanding is the process of progressively smoothing the wood surface using abrasives of decreasing coarseness. A typical sanding sequence for furniture starts at 80-grit or 120-grit and progresses through 150, 180, and 220-grit. Some pieces are sanded to 320-grit or finer for an ultra-smooth finish.
Each grit removes the scratches left by the previous grit. Skipping grits leaves visible scratches that become apparent only after the finish is applied — at which point the only remedy is to sand back to bare wood and start over. A handcrafted piece may require hours of sanding to achieve a surface that feels like silk and takes finish evenly.
Hand sanding with the grain produces the best results. Random orbital sanders are used for initial stock removal, but final sanding is often done by hand to ensure the surface is perfectly smooth and free of machine marks.
The Finish: Protection and Beauty
The finish is what protects the wood from moisture, stains, and wear while enhancing its natural beauty. The choice of finish affects both the appearance and maintenance requirements of the piece:
- Natural oil (tung oil, Danish oil): Penetrates the wood, enhancing grain without building a surface film. Creates a natural, matte appearance that feels like wood, not plastic. Easy to repair and maintain — simply apply more oil. Requires periodic reapplication, especially on dining surfaces.
- Polyurethane: Creates a durable surface film that resists water, heat, and wear. Available in matte, satin, and gloss sheens. Polyurethane is the most practical finish for dining tables and surfaces that see heavy use. Can be water-based (clear, non-yellowing) or oil-based (warm amber tone).
- Wax: Applied over oil or polyurethane for additional protection and luster. Wax creates a soft, natural sheen and makes the surface pleasant to touch. Needs reapplication every 6-12 months.
- Hand-rubbed oil finish: Multiple coats of oil applied and buffed by hand over several days. Creates a deep, warm finish that feels natural to the touch and brings out the full beauty of the wood grain. This is the most labor-intensive finish but produces the most beautiful results.
The Difference You Can Feel
When you run your hand across a handcrafted table, you can feel the difference. The surface is smooth and consistent. The joints are tight and precise — no gaps, no misalignments. The edges are softened just enough to be comfortable without losing their crisp definition. The finish has depth and warmth that mass production cannot replicate.
You can also see the difference in the details: hand-cut dovetails in drawers, mortise and tenon joints in table bases, grain patterns that flow naturally across the surface, and a finish that enhances rather than masks the wood's character. These are the marks of a piece made by a craftsman who cares about every step of the process.
Conclusion
Handcrafted woodworking is a tradition that spans thousands of years, and the techniques used today are largely the same as those used by craftsmen centuries ago. What has changed is the context — in a world of mass production and disposable furniture, handcrafted pieces stand out as investments in quality, character, and permanence. At Ben's Woodcrafts 501, every piece is built by hand using these traditional techniques. We do not rush the process. We do not cut corners. We build furniture that will be used, loved, and passed down to future generations. That is the art of handcrafted woodworking.
Frequently Asked Questions
Why is handcrafted furniture more expensive than mass-produced furniture?
Handcrafted furniture takes significantly more time to produce. A craftsman may spend 20-40 hours on a single dining table, compared to minutes on an assembly line. The materials are also higher quality — solid wood costs more than particle board or veneer. You are paying for skill, time, and materials that result in furniture lasting generations rather than years.
What is the difference between hand-cut and machine-cut dovetails?
Hand-cut dovetails are cut with a saw and chisel, creating slightly irregular joints that show the maker's hand. Machine-cut dovetails are perfectly uniform. Both are strong, but hand-cut dovetails are considered a hallmark of fine craftsmanship.
How long does it take to build a handcrafted dining table?
Depending on the design, complexity, and finish, a handcrafted dining table typically takes 20-40 hours of labor spread over 1-3 weeks. This includes lumber selection, milling, joinery, assembly, sanding, and finishing. Custom pieces may take longer.
Can handcrafted furniture be repaired if damaged?
Yes. Unlike veneered furniture, solid wood can be sanded, refinished, and repaired multiple times. Scratches can be filled, dents can be steamed out, and entire surfaces can be refinished. This repairability is one of the greatest advantages of handcrafted solid wood furniture.
What finish is best for a dining table?
Polyurethane is the most practical finish for dining tables because it resists water, heat, and wear. However, many people prefer the natural look and feel of an oil finish. An oil finish can be maintained and refreshed by the owner, while polyurethane requires professional refinishing when worn.